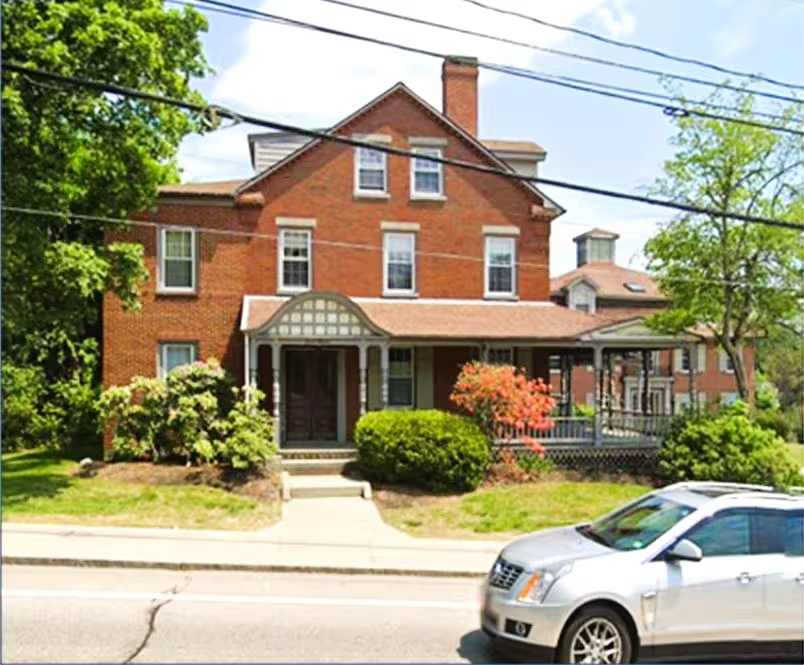
Step One: Reference Photo
This is the original photo I painted from. In many cases I prefer not to do a front-on angle, but in this case it turned out to be the best vantage point. It showcases the spectacular front stairs and porch.

Every portrait travels a long way before it’s done. Follow along as one commission moves from reference photo to first sketch, base colors, and the careful detail work that brings a place to life.
This is the original photo I painted from. In many cases I prefer not to do a front-on angle, but in this case it turned out to be the best vantage point. It showcases the spectacular front stairs and porch.
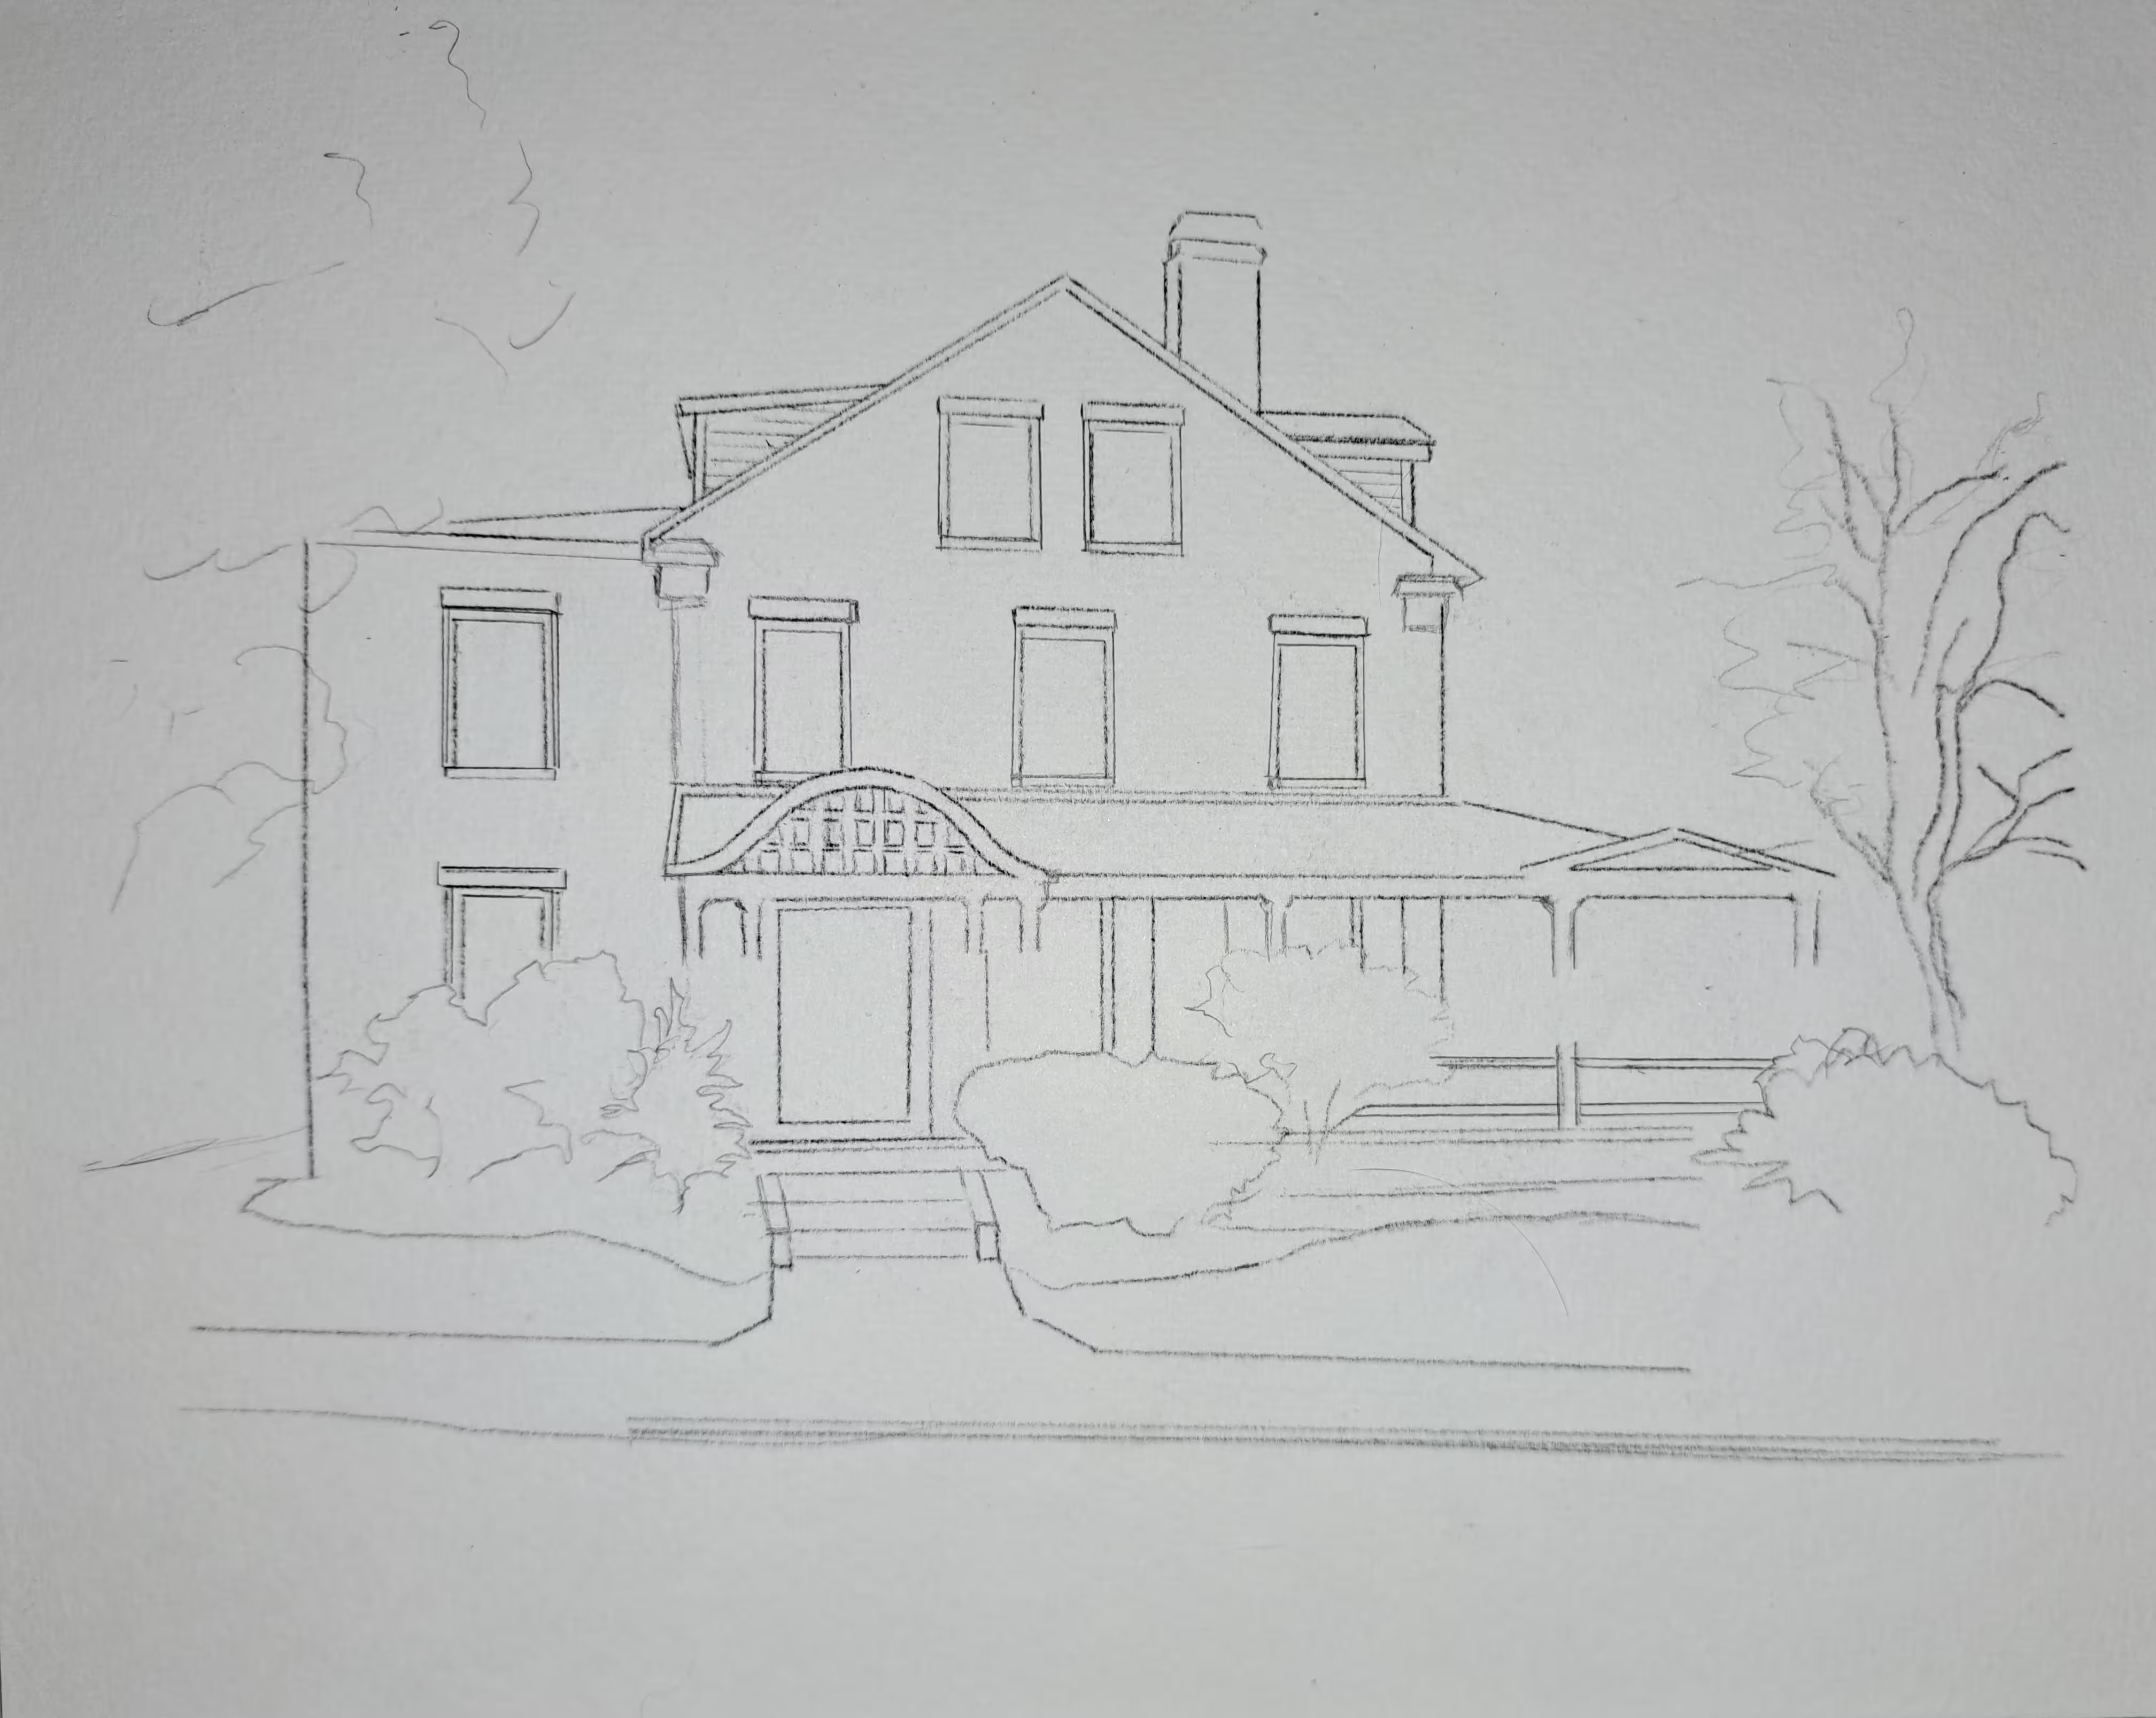
I start with a sketch of the outline of the house as well as the important features. I also started to rough-in some of the landscaping — just basic shapes of where the trees and other vegetation will be. Oh, and I thought it was a good idea to leave out the car in the original photo.
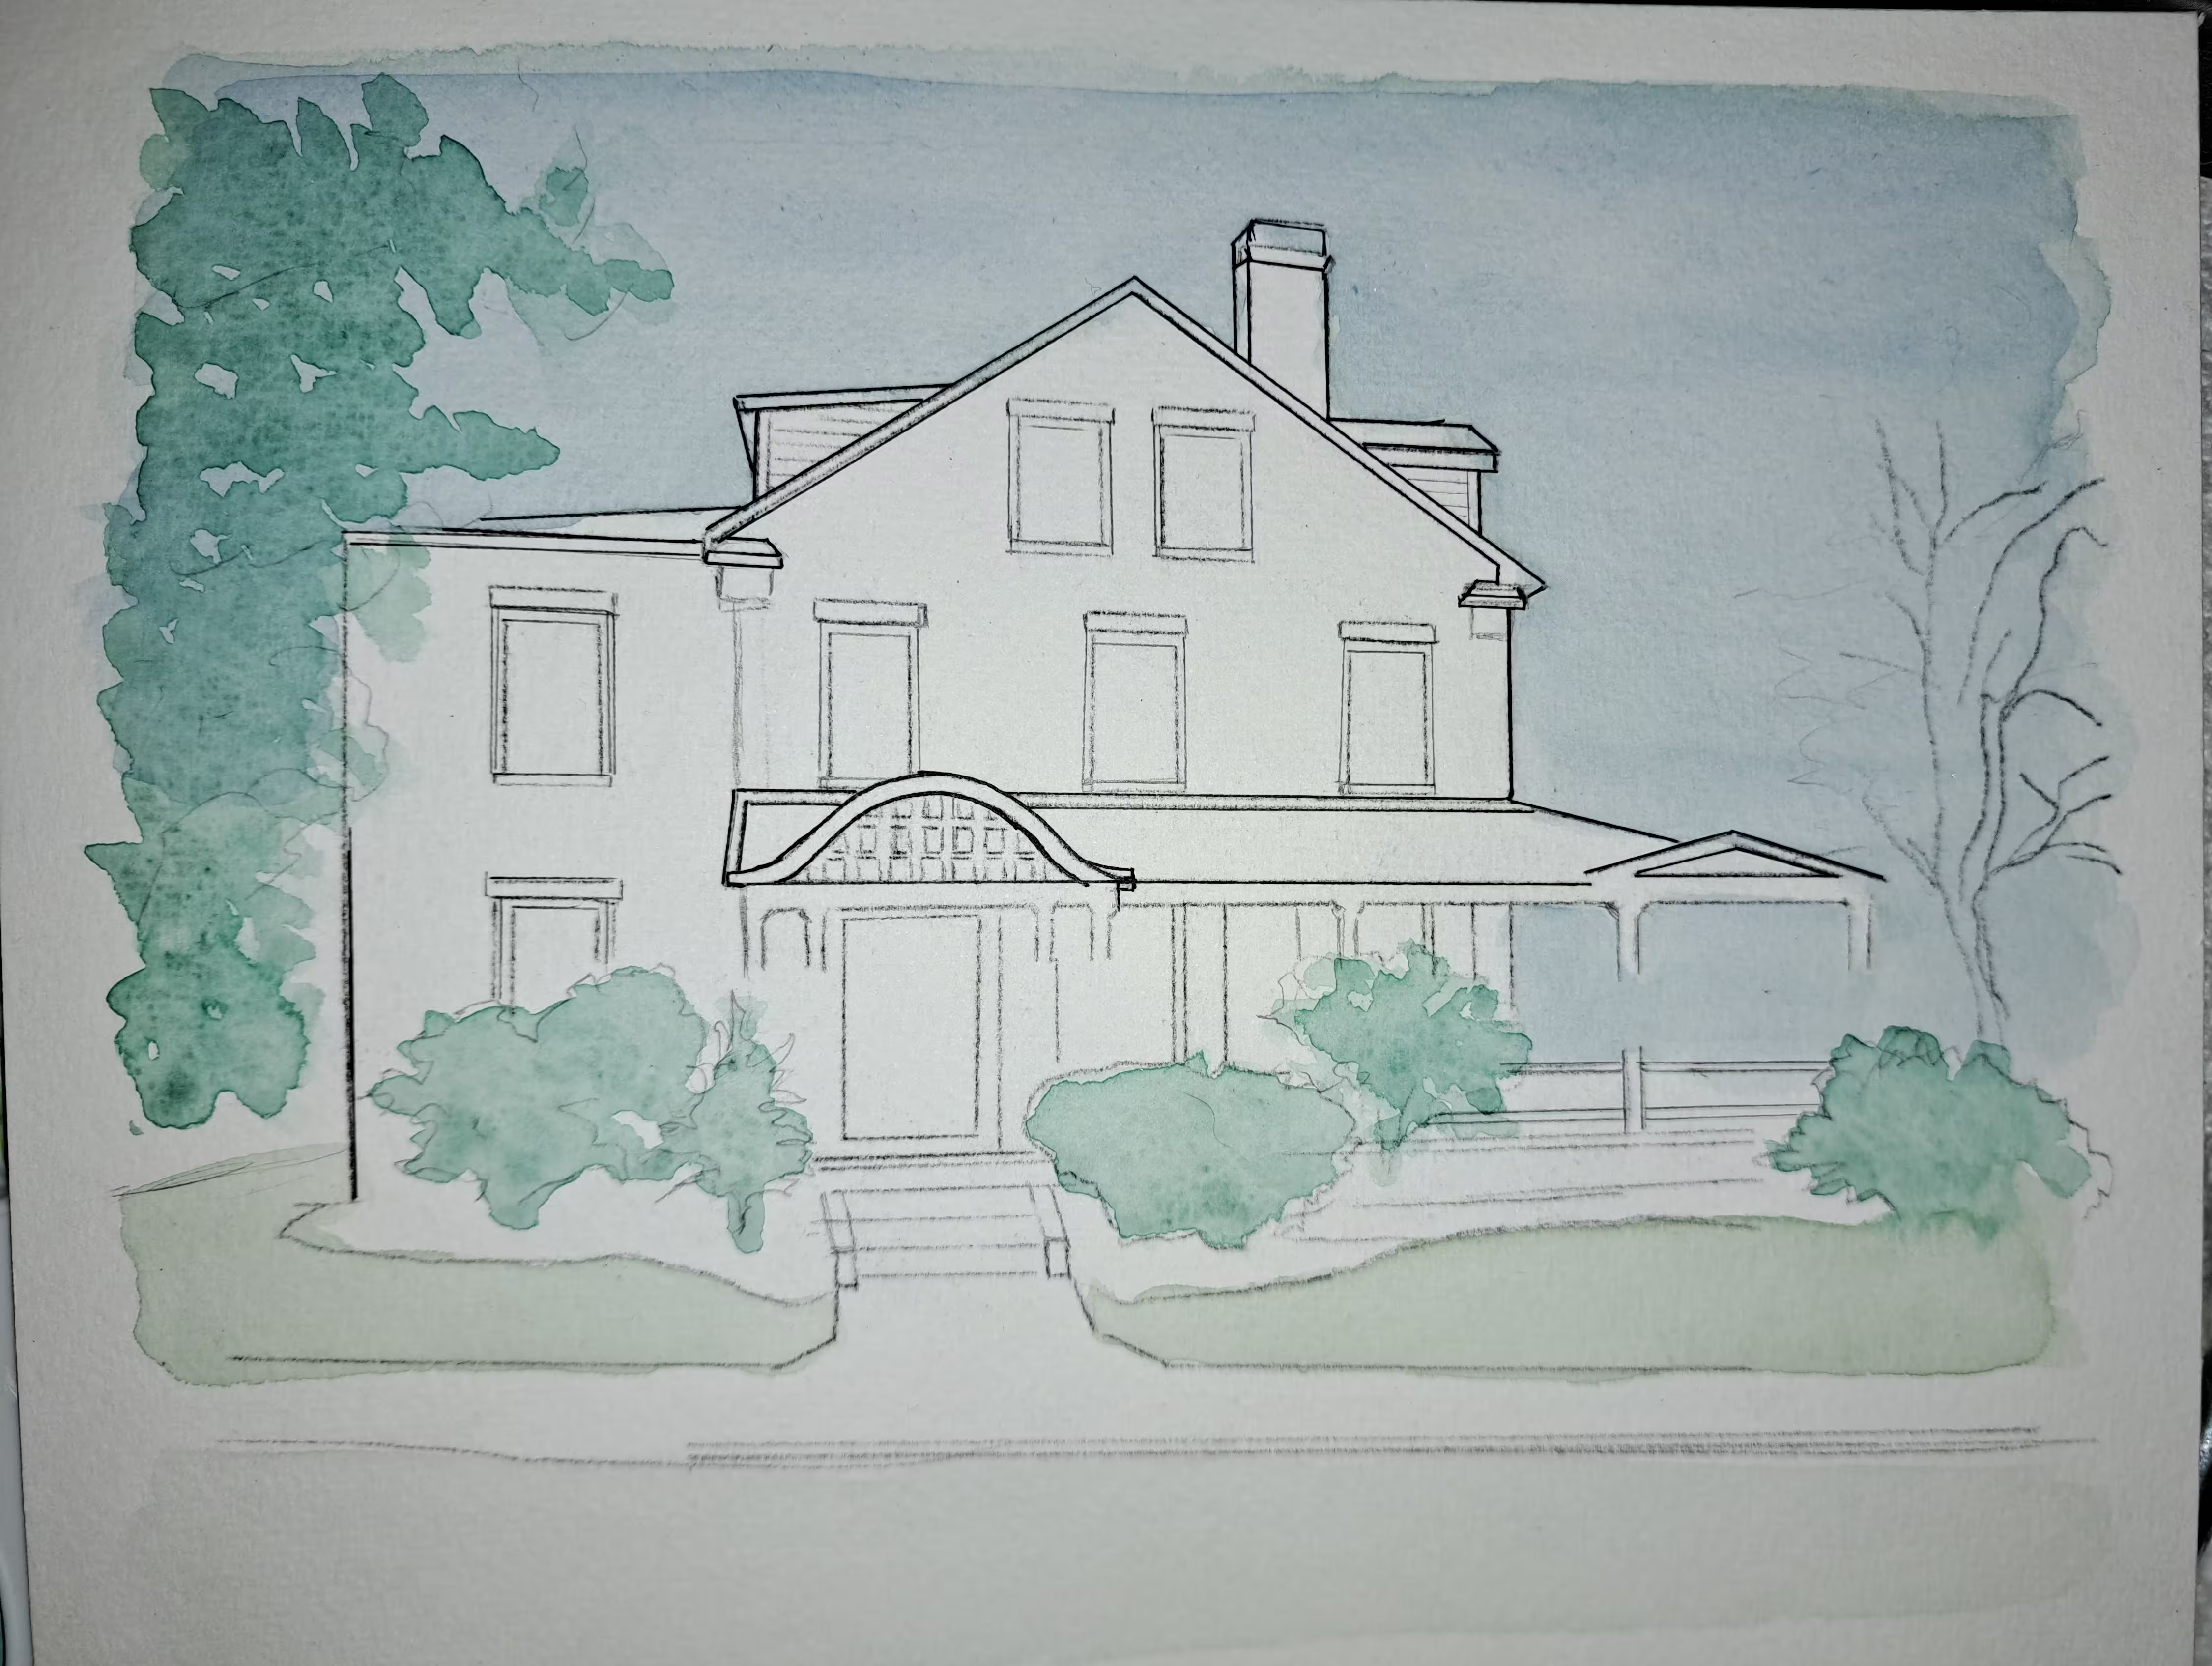
Here I start to add some color for the background — just the base colors at this point. If you notice, on the right side, I have left out a building that is in the original photo. Although it is part of the whole building complex, it is not part of this apartment portion, so in my mind it is not part of the main focus of this painting. But...
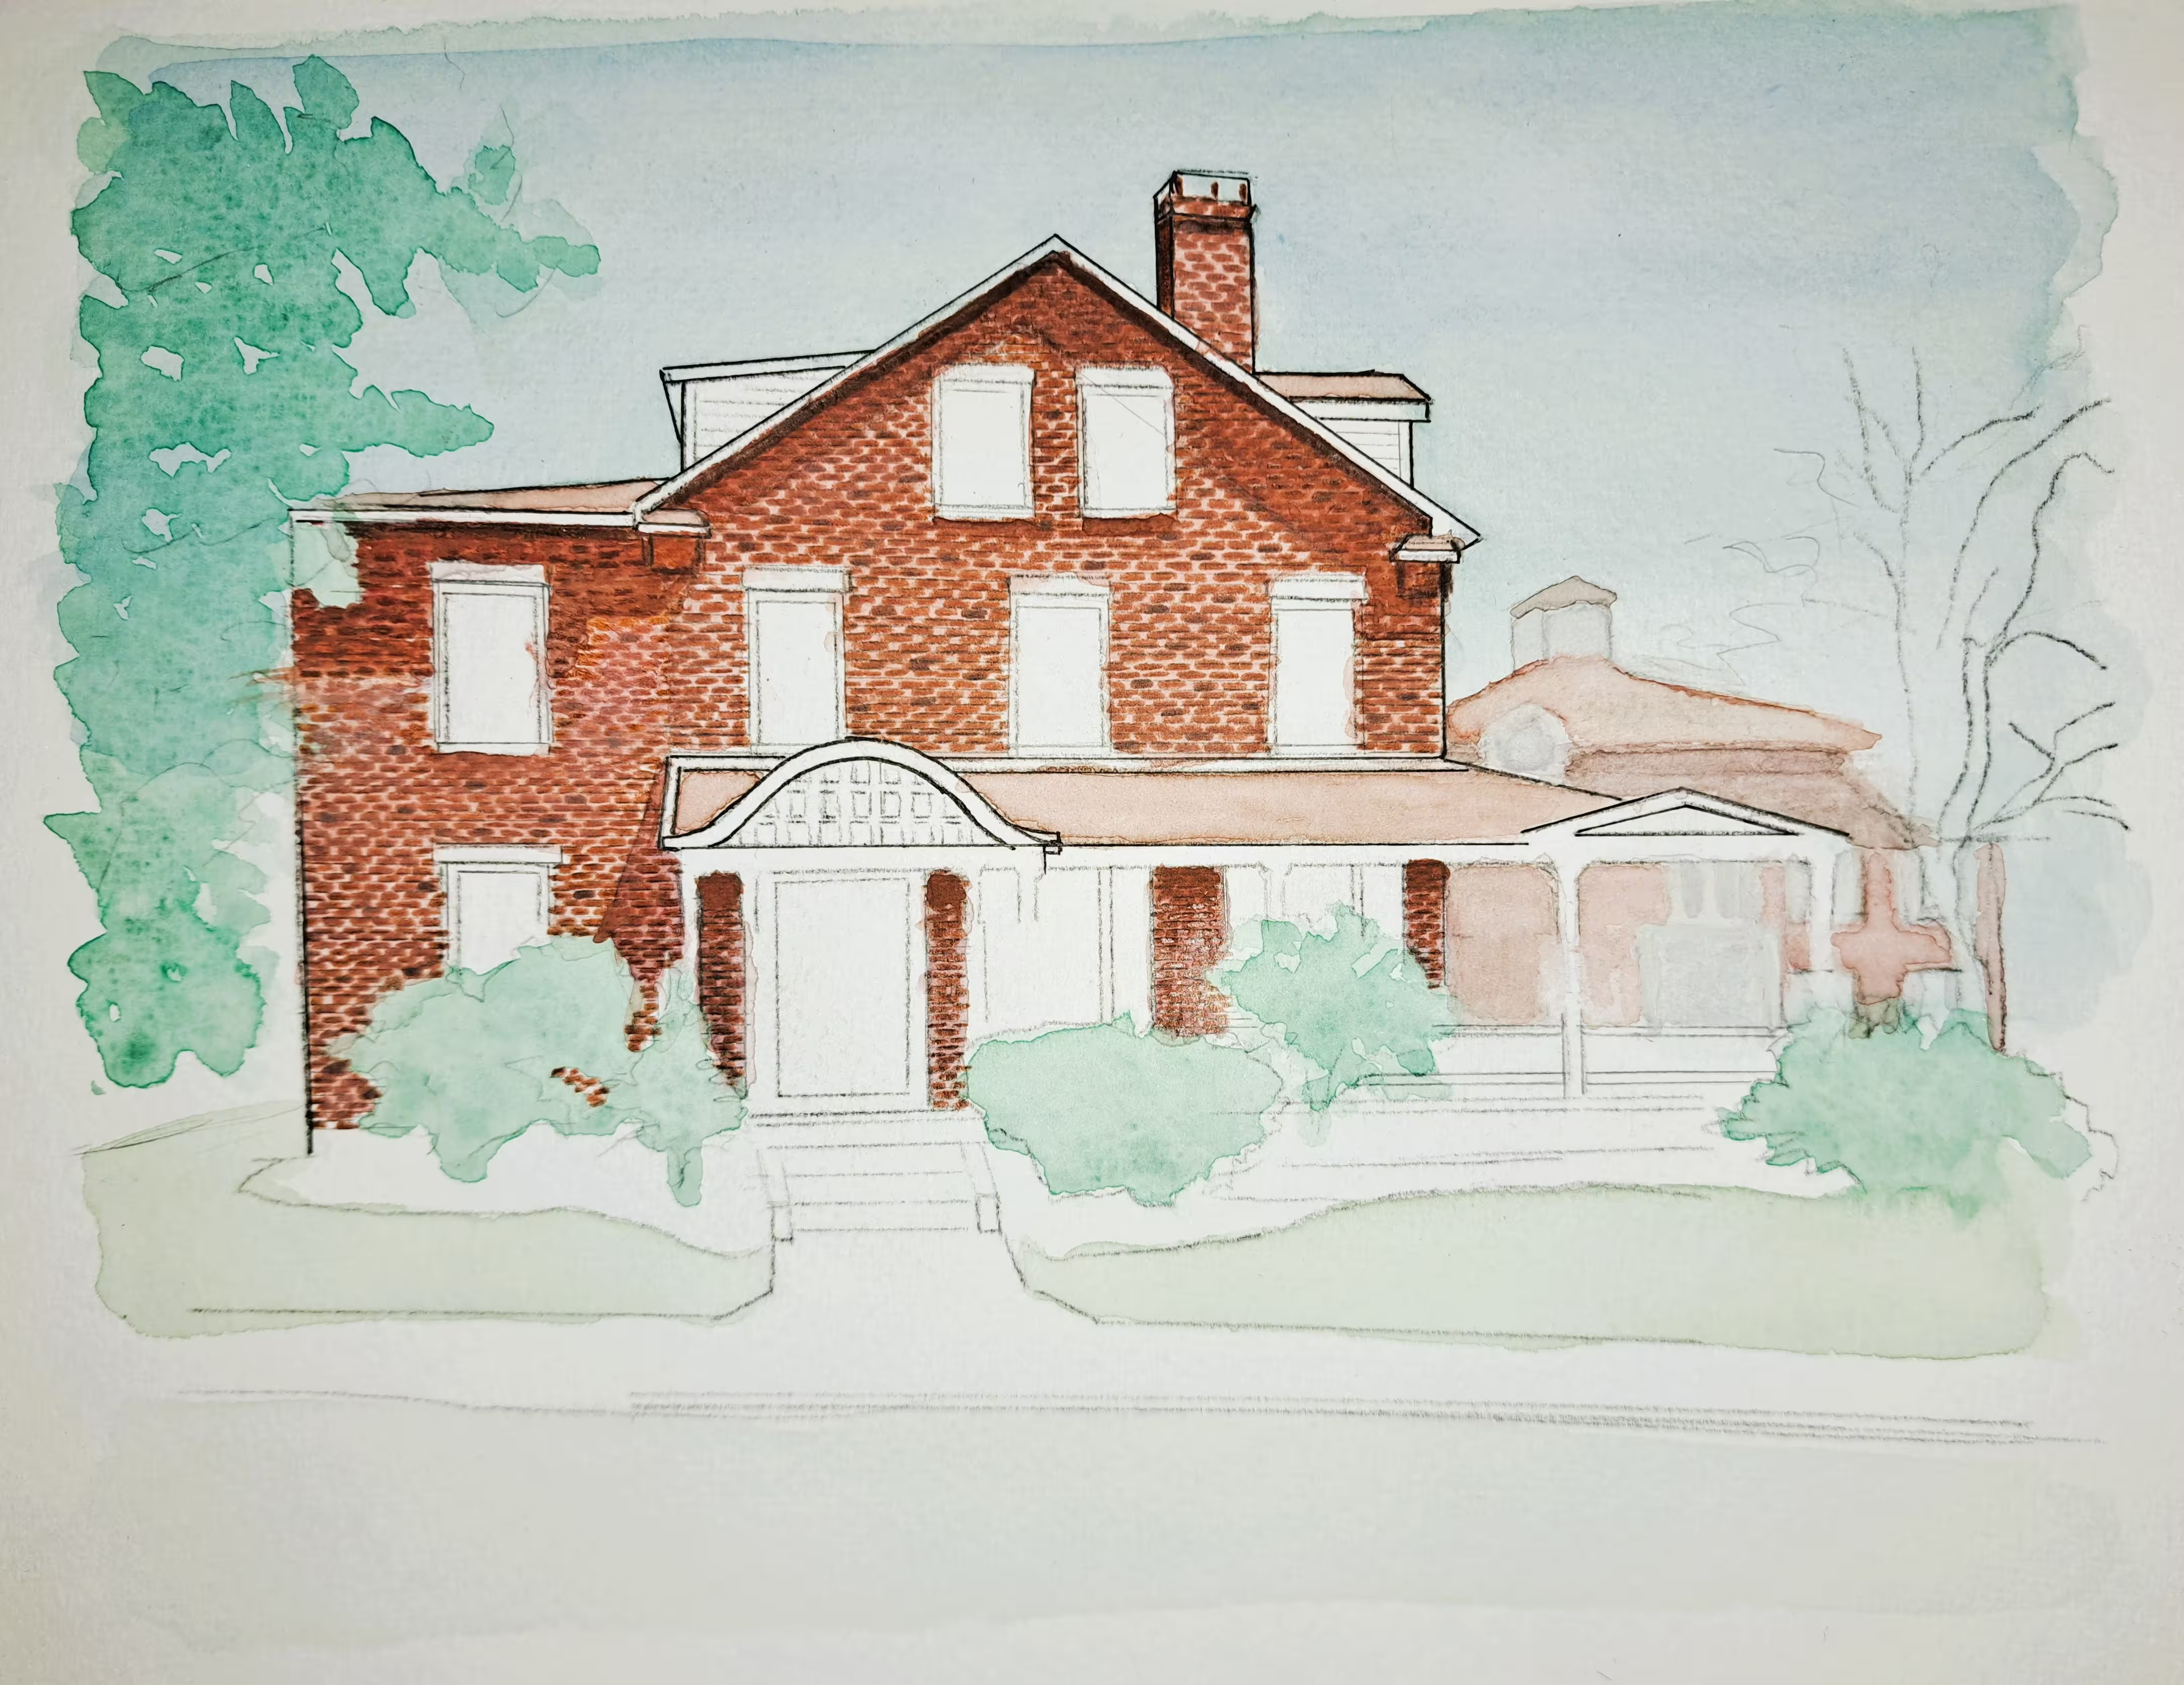
After speaking with my client who commissioned this portrait, we decided to put the building in, but wanted it less detailed than the main focus building. As you can see, at this point my main focus was to get the brick done. That is the most detailed part of the painting.
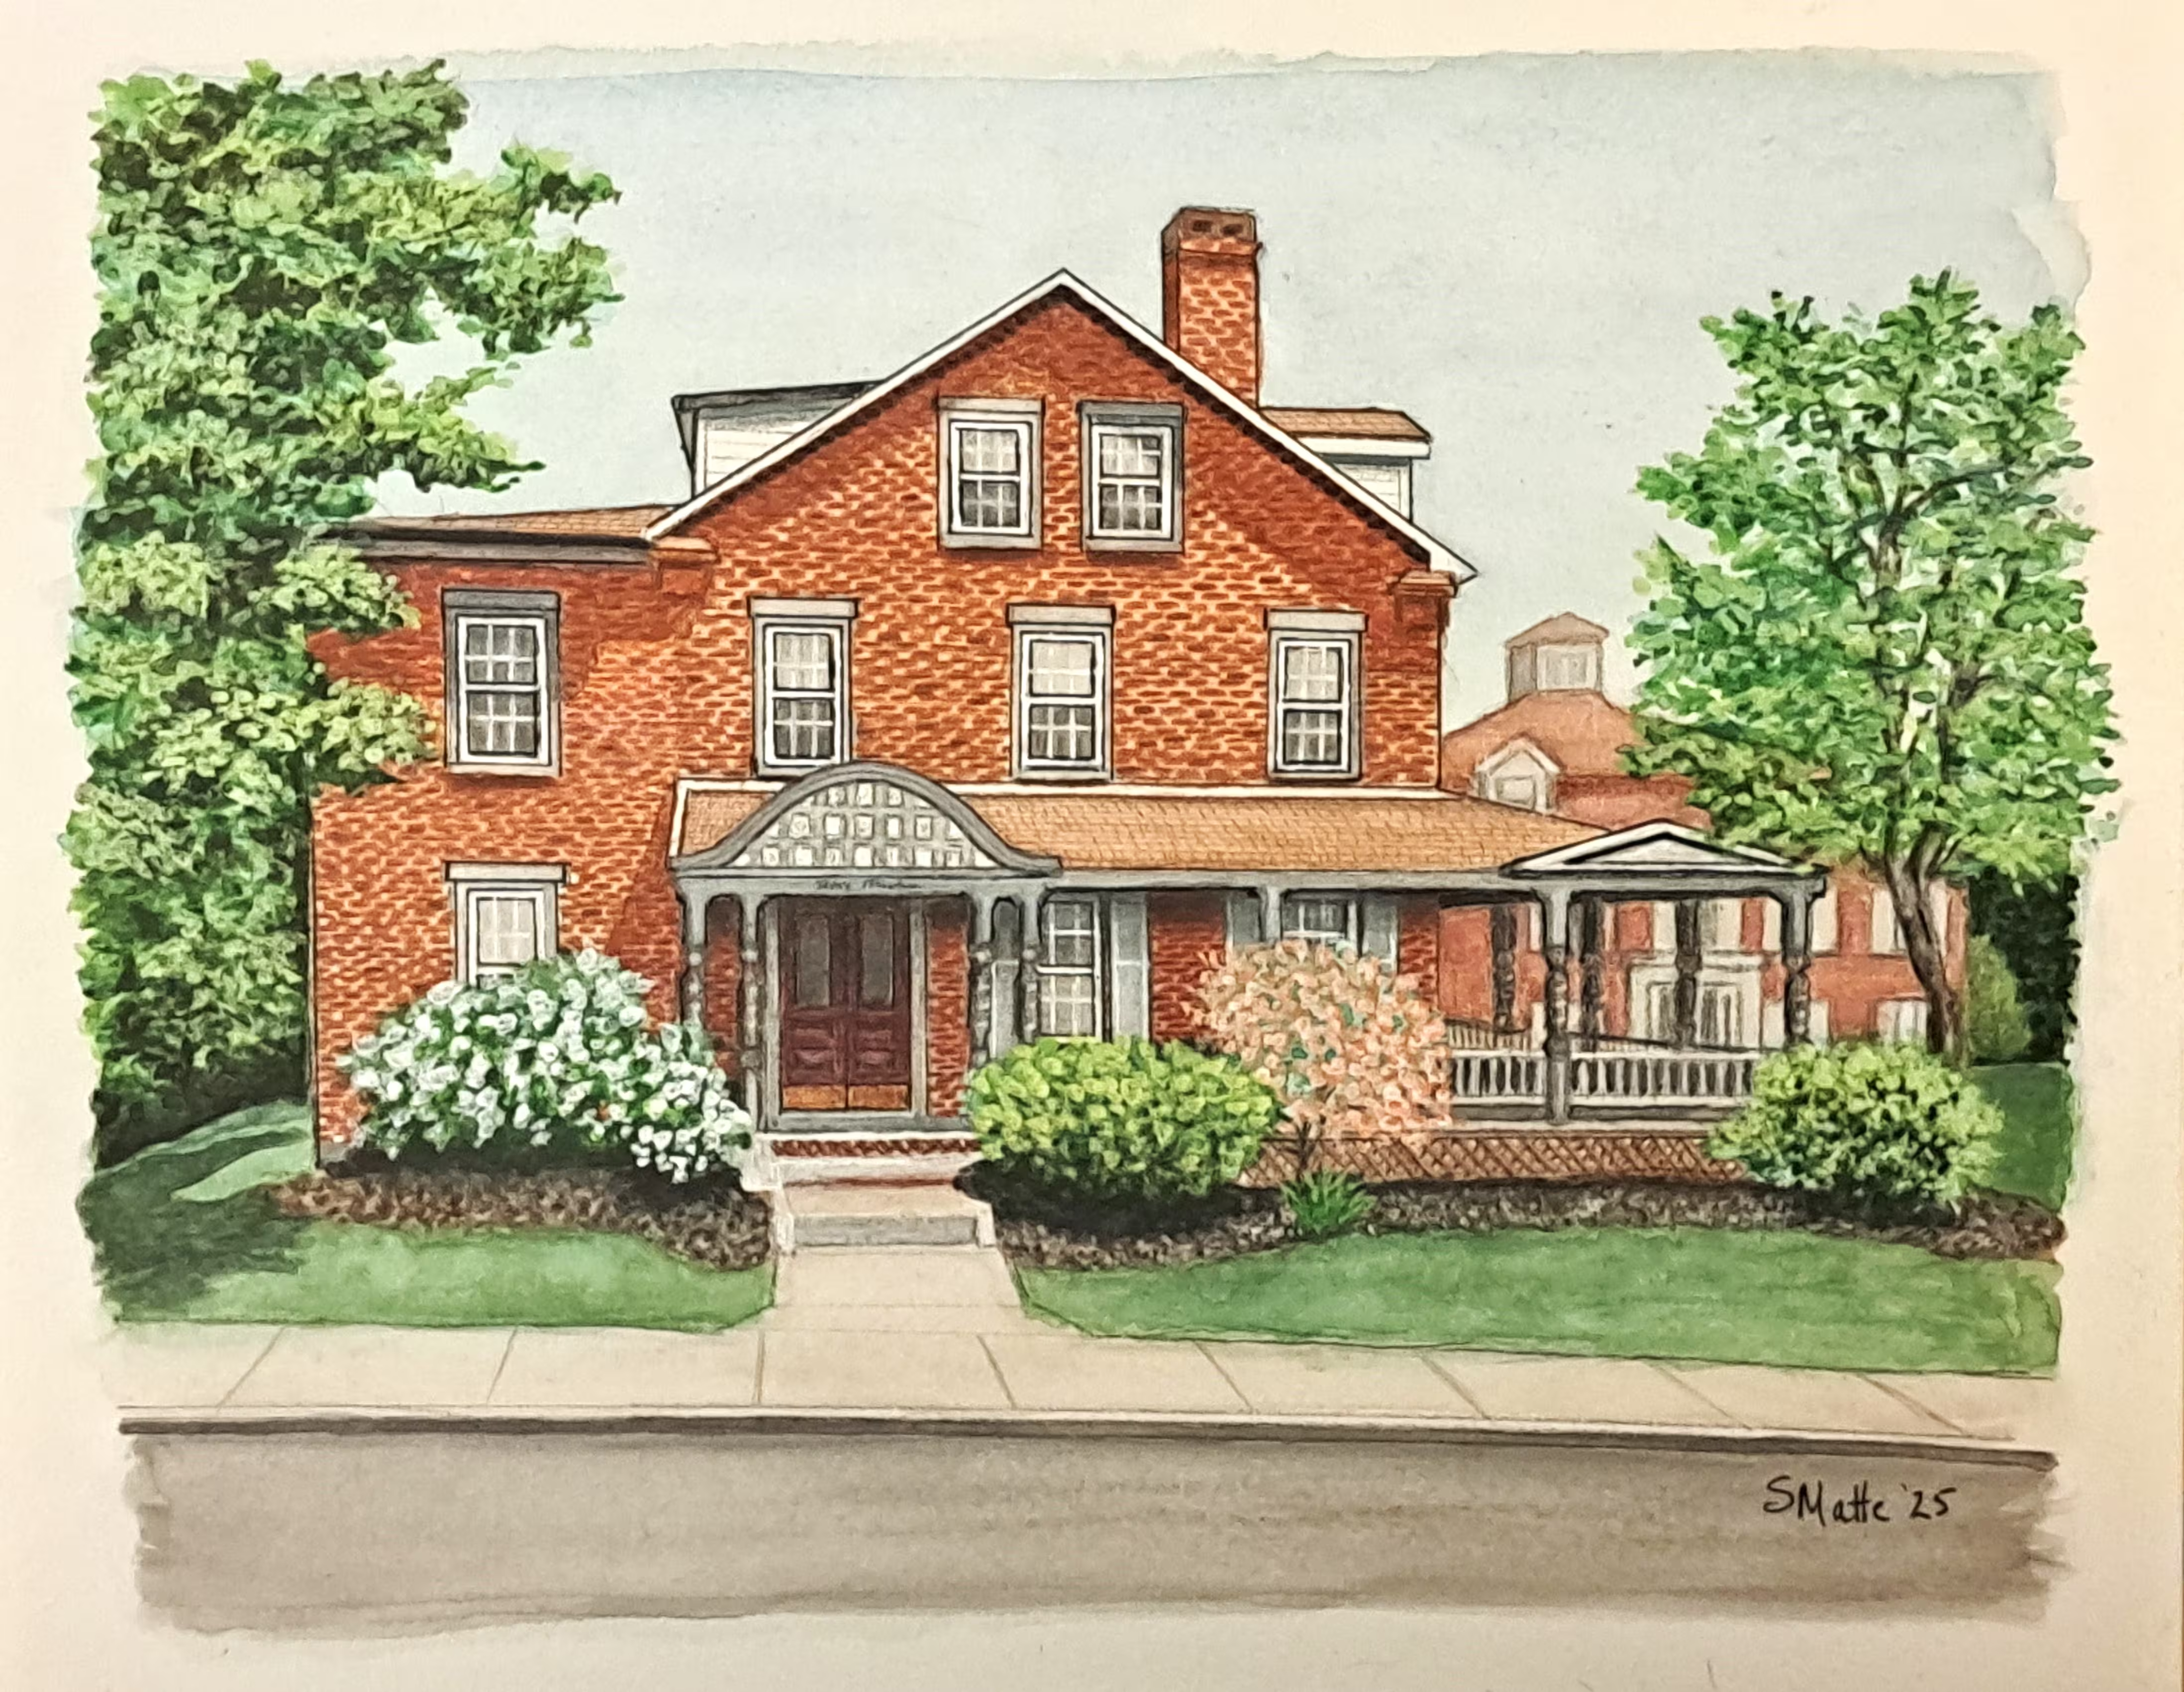
And finally, jump to the finished painting — every detail in place, the place captured as more than just a house.